knowledgebase
Color management
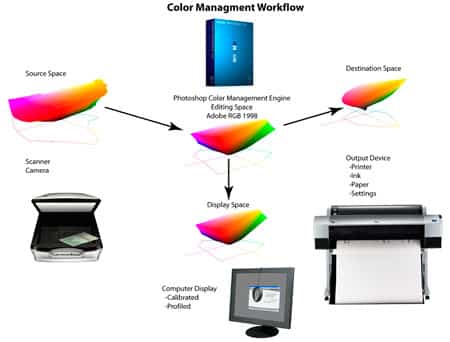
A Color Managed Workflow ensures that there is Color Consistency and Accuracy from Digital Image Capture, to Screen Viewing and Editing, and most importantly Screen to Print Matching.
Prints that will accurately match your images on-screen involves adhering to the Color Managed Workflow Guidelines and also understanding Color Working Spaces and using the Color Settings available when editing images in Adobe© Photoshop CC or
Adobe© Lightroom Classic.
Custom Printer Profiles allow us to fine-tune the capabilities of our printer paper and ink combinations and make it possible to produce more accurate print colors, better shadow, and highlight detail and faithful renderings of colors that are seen on screen.
Using Printer Profiles you are able to see a simulation on-screen of what your image will look like when we print your image on the paper you have chosen, and then to fine-tune any edits for better screen to print matching. Simply having a profile does not ensure the best results, but knowing how to use the Printer Profiles to Soft Proof your Images on a Color Managed System does.
A Color Managed System also involves various hardware and software tools including Wide Gamut Monitors, Monitor Calibration, and Working Conditions and Viewing Conditions.
Color Working Space
The heart of all of Adobe’s Color Managed Software is its ability to handle so many different file types and different Color Working Spaces and can be found in the Color Settings Dialogue box in Photoshop. A Color Working Space is defined here, and how “Color Traffic” coming from one Color Working Space to another or Profile should be handled, Preserved or Converted to the Current Space, and or left alone.
The following video from Canson ® Infinity E-Academy gives an introduction to Color Working Spaces
Photoshop Color Settings Dialogue Box
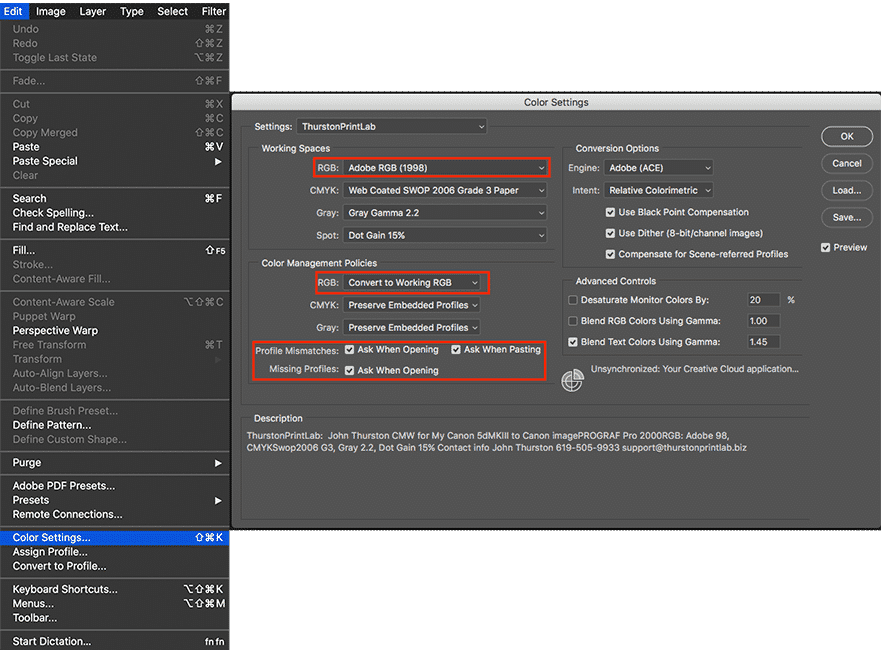
The Color Settings dialogue can be accessed in Photoshop from the Edit > Color Settings menus and set to the following:
- Working Space:
- RGB: Adobe98
- Color Management Policies:
- RGB: Convert to Working Space
- Profile Mismatch:
- Ask When Opening – Checked
- Ask When Pasting – Checked
- Missing Profiles:
- Ask When Opening – Checked
Lightroom Color Working Space
Lightroom does not have a Color Working Space settings dialog box.
By default Lightroom converts all images Imported using a variant of Adobe’s Wide Color Gamut, the Adobe ProPhoto Color Working Space for all image editing, and it is the largest of all Color Working Spaces.
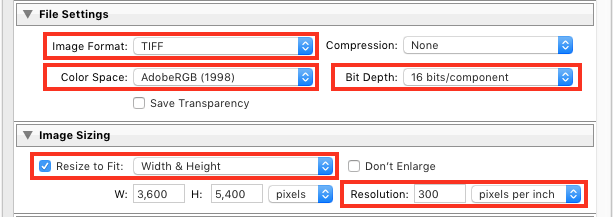
What is important to note is that even though Lightroom Classic CC does not allow you to choose how you manage “Color Traffic”, it does let you control “Outgoing Traffic” with the File > Export > Export To…File dialogue box where you can specify the Image Format, Color Space, Bit Depth, Image Size, and Resolution.
The Following Image settings should be used when exporting files to send to us to print.
Wide Gamut Monitor

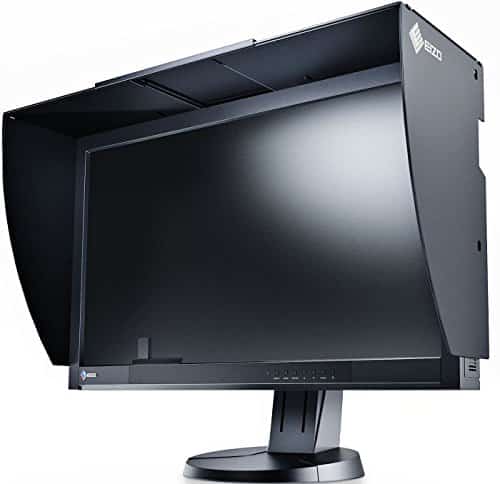
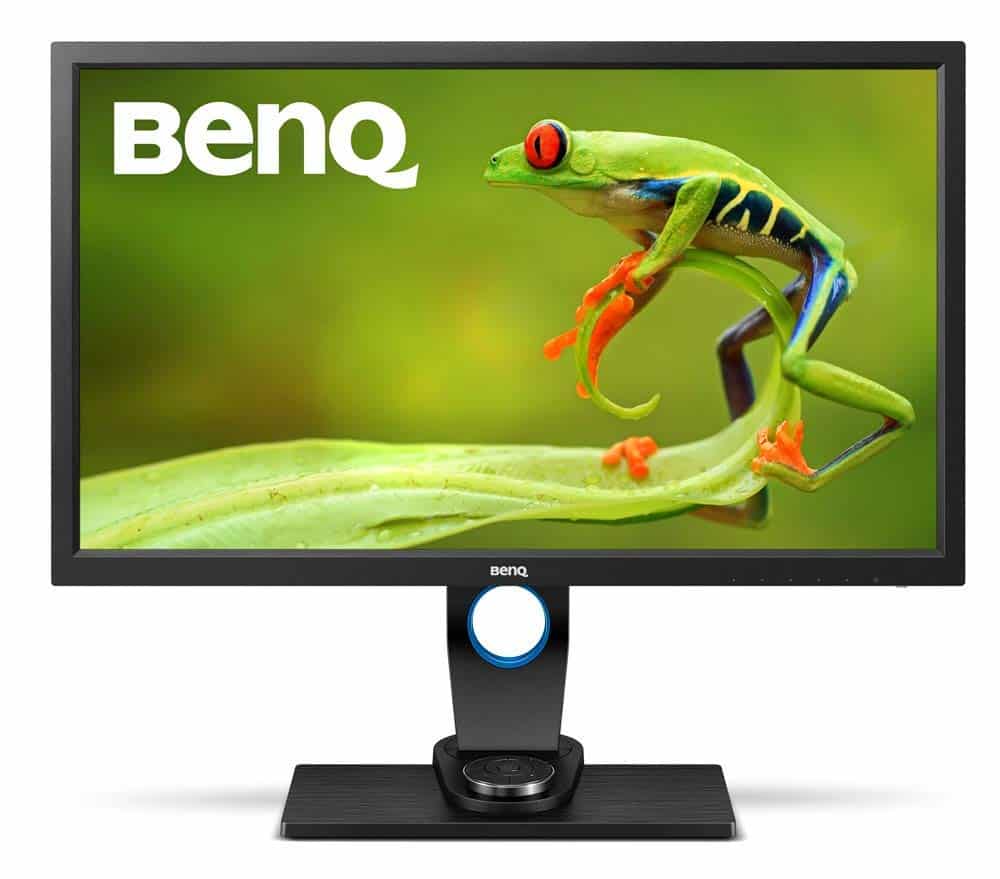

Using a Wide Gamut Monitor capable of displaying 98 to 100% of the Adobe98 Color Working Space in a Color Managed Workflow will insure accurate editing and perfect Screen to Print Matching.
A Quality Wide Gamut Display capable of displaying 99+% of the Adobe98 Colorspace with a Color LookUp Table (LUT) can cost more than $2500, such as the EIZO CG277-BK ColorEdge Professional Color Graphics Monitor 27.0″.
A very reasonably priced Monitor for under $600 is the BenQ 27 inch 2K Photographer Monitor.

monitor calibration

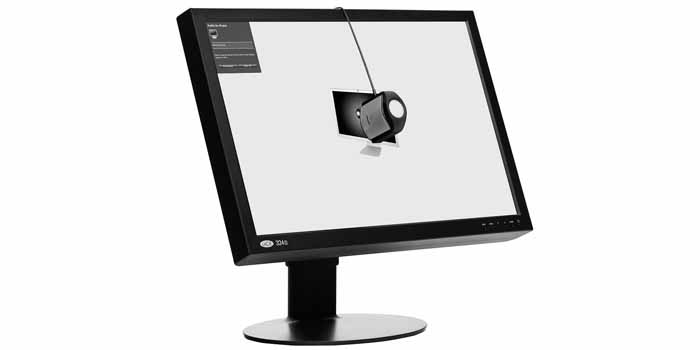
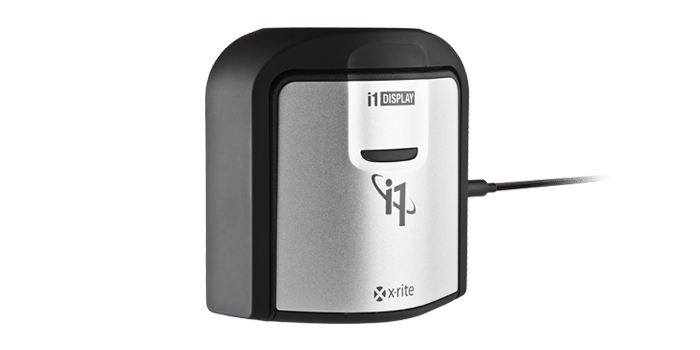
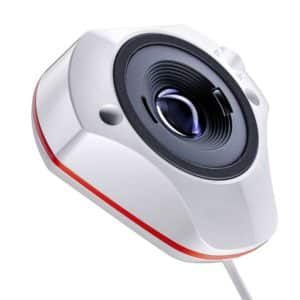


In order to accurately view and edit images on a computer monitor for Screen to Print matching when printing it is crucial that it be properly calibrated, otherwise all uncalibrated monitors are too bright, which will lead to prints being produced that are too dark.
Monitors should be calibrated to the ISO 3664 standard:
- 120 candelas/cm2 (Brightness of screen)
- 6500K or D65 White Point (Color Temperature of Screen)
- Gamma 2.2 or Native (Contrast of Screen)
Accurate Monitor Calibration can be performed by the following devices:
Working Conditions


In addition to making sure your Monitor is not too bright, you should be working under very subdued lighting conditions, approximately 30 cd/m2, or basically a darkened room, with neutral colored surfaces, without any additional lighting brighter than your monitor.
You should ideally be using a Monitor Hood to prevent glare and any stray light hitting your screen.
For additional information on Proper Ambient Working Conditions, read how the “Darkroom has made a comeback“.
Viewing Conditions

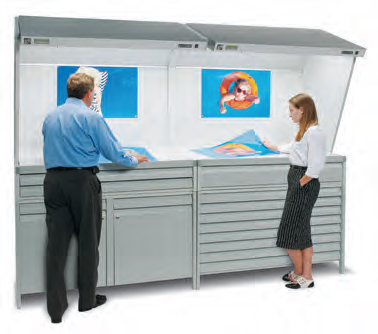
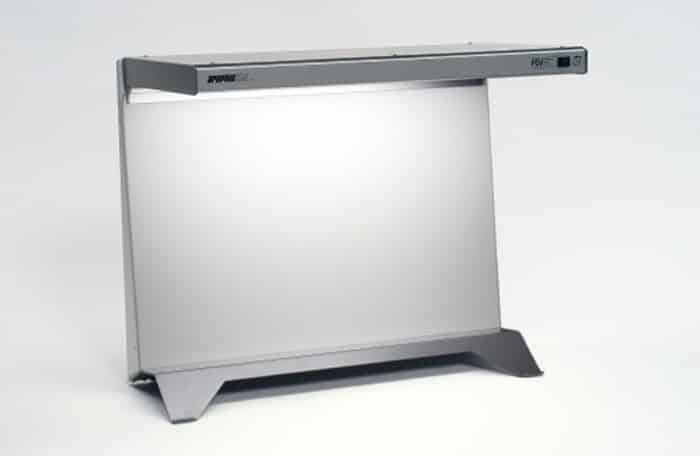
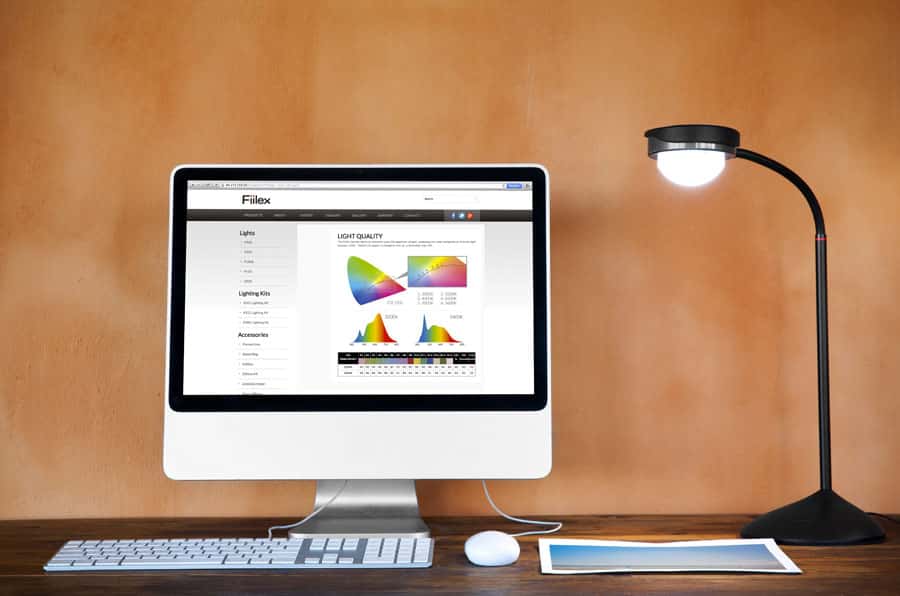
Prints should be evaluated under proper D50 or Daylight 5000K color temperature lighting viewing conditions. Todays residential LED Bulbs emit light anywhere from 2700K to 3500K and will give an inaccurate view of a print.
Proper Viewing Conditions range from Room-sized Viewing Booths costing tens of thousands of dollars, a table-top Viewing Station like the Graphiclite PDV-3E Professional Desktop Viewer for $1,000, to a small desktop D50 Viewing Lamp like the Fiilex V70 for under $200.
